Interior design has become a home to the creative-inspired. Simple walls and white furniture have become a thing of the past and DIY-ified looks are taking over. There are many ways to give your home a facelift without breaking the bank. Here are a few ideas to try in your own home this summer...
Wall molding designs are becoming a fan-favorite project as they can completely transfrom a room. Talk about the look of luxury for less!
Everything from board & batten, picture frame molding and wainscoting, can be created to achieve a more upscale, modern look in any room.
Designs like shiplap that we all know and love can be extremely expensive as one shiplap board can cost upwards of $5/ea. DIY options such as simple plywood sheets cost around $30 and you can get 6-8 shiplap boards out of it. Sounds much better doesn’t it?
Map out the look you’re wanting to achieve with painters tape to get the overall look as well as correct measurements before you begin.
Furthermore, create a drawing of your plan with the final measurements that you can refer back to while working.
Purchase a few extra pieces of molding/framing just in case. Once you get into cutting and working you never know if something might come up short.
Use a spacer - as much as you trust your eye and even your tape guide, using a physical piece to space each section/box will guarantee correct spacing throughout your design.
Nail the corners/outer edges first, step back, and make sure everything looks centered and accurate before nailing the entire piece down. Just in case you need to tweak, you won’t have to remove all of the nails, only a few!
Have an old antique piece of furniture that you don’t know where to put? Don’t throw it out! All she needs is a little sanding, fresh stain or paint and a new set of hardware and... BAM. Brand new piece!
There are many ways you can DIY that beloved dresser or kitchen table. You can change the stain or strip to it’s original finish or even add a fun pop of paint.
Here are some tips and tricks to be sure you follow when approaching any restoration project:
Invest in a great sander. This is the most important tool you’ll have in your toolbox. Anytime you’re changing up any piece of furniture it most likely will need to be sanded down for either cleaning or smoothing edges.
When working on the legs of a piece of furniture you need to lift it off the ground to access them. You’ll need something sturdy for support. This can range from a block of wood to painter’s tripods.
The best bleaching product you can use on wood is your simple household bleach and good ol’fashioned sunshine.
When working on veneer-covered furniture, be sure to use a paint stripper to remove the paint easily and lightly sand afterwards. If you try to just sand off the paint you can risk damaging the veneer underneath, which you don’t want!
Add a router table to your DIY arsenal - these are great to use for adding additional details onto doors and drawers.
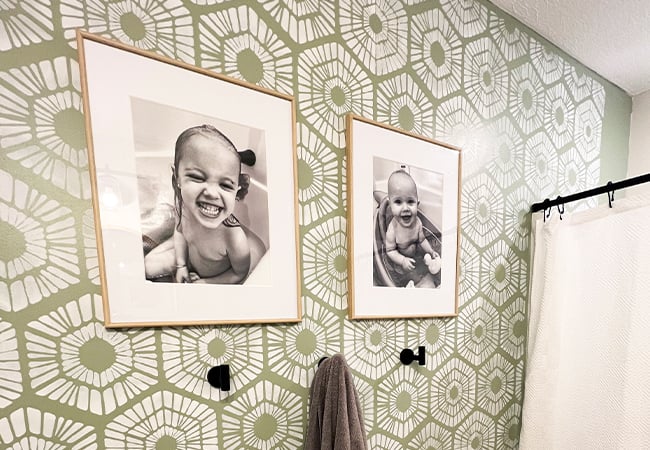
Who doesn’t love an accent wall? Sometimes a room needs a little oomph to take it to the next level, but you don’t want to overdo it! Creating a fun accent wall in a pattern or pop of color is an easy switch-up to really elevate any room.
Wallpaper has always been a go-to for this type of facelift, however it can be extremely pricey.
Stenciling is a great way to achieve the same look for sometimes more than half the cost!
Here are some tips for creating your own statement wall:
Before you begin, you MUST offload the majority of your paint onto a paper towel. The paper towel should be covered in paint by the time you are done. This prevents any excess paint ruining those crisp lines you’re wanting to achieve.
Anytime you move your stencil you’ll want to re-secure it with painters tape. Don’t trust yourself to hold it while painting. You don’t want to risk it moving which can mess up your pattern moving forward.
Wipe off the back of your stencil before moving onto the next section in case there is any wet paint on the edging. You don’t want to transfer paint onto any dried parts you’ve previously painted.